Connecting to Remote Access VPN
SpeedCloud 2.0 offers Remote Access VPN powered by the IPSec protocol.
Enabling / Disabling the feature:
- Please navigate to Network -> Settings -> Remote Access VPN and toggle the enable / disable button.
- Once the feature is enabled, you may go ahead with the addition of new users.
There are a two parameters to consider and those are
VPN Gateway Address: It is the Public IP Address and available on the portal
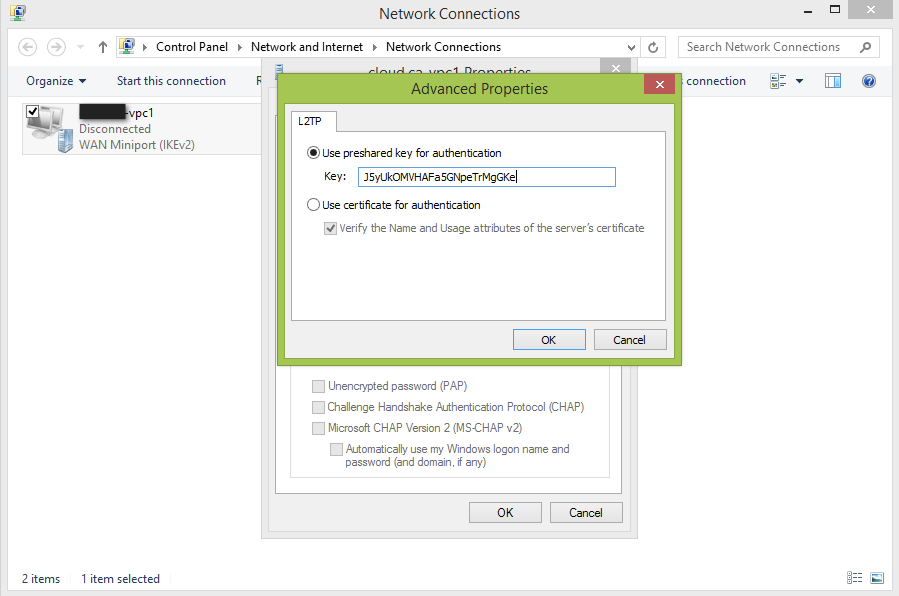
IPSec Pre-Shared Key: It is the shared key where Server and Client are supposed to know. This is available on the portal as well.
Below is the procedure to connect to your Virtual Networks over a Secure Tunnel.
Windows Clients:
Windows offers native VPN Clients for this purpose.
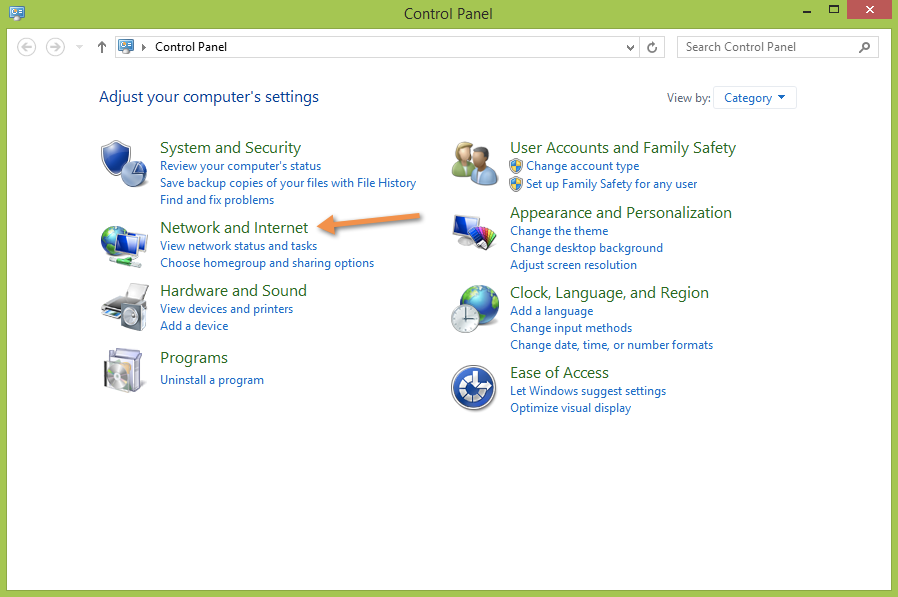
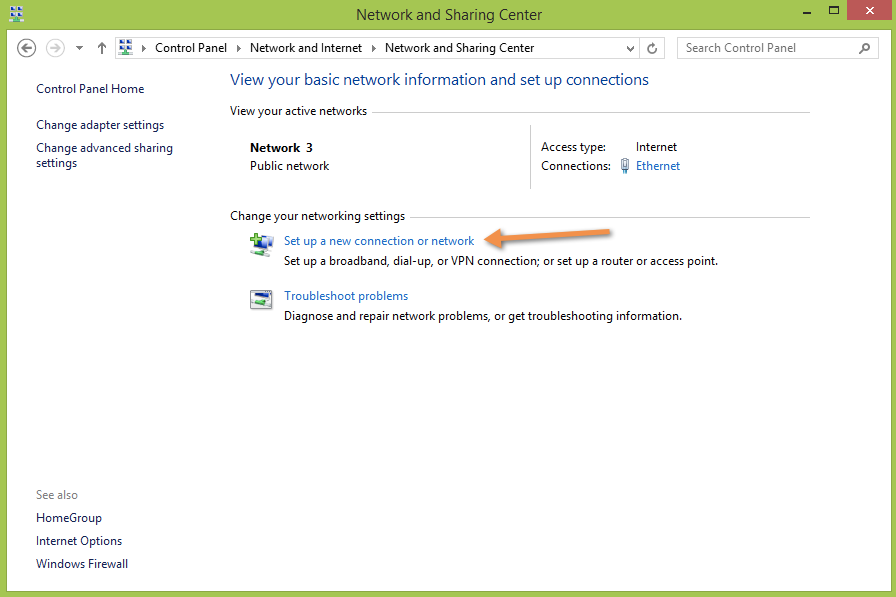
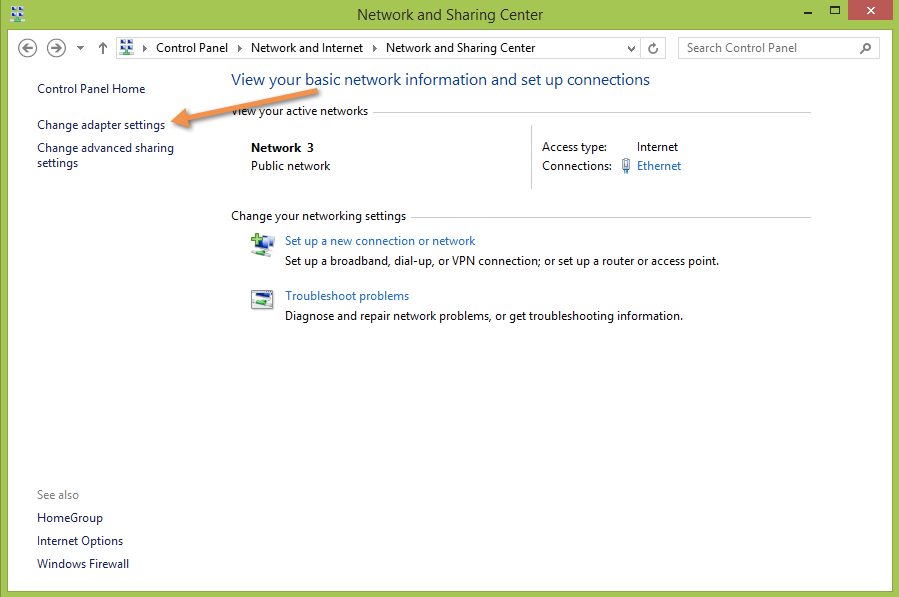
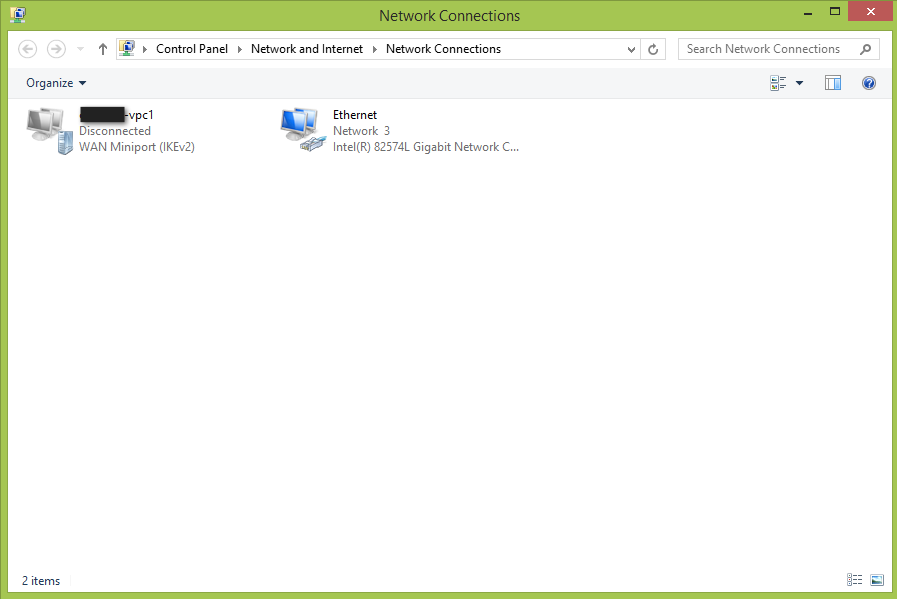
- Go to Control Panel and navigate to the settings described

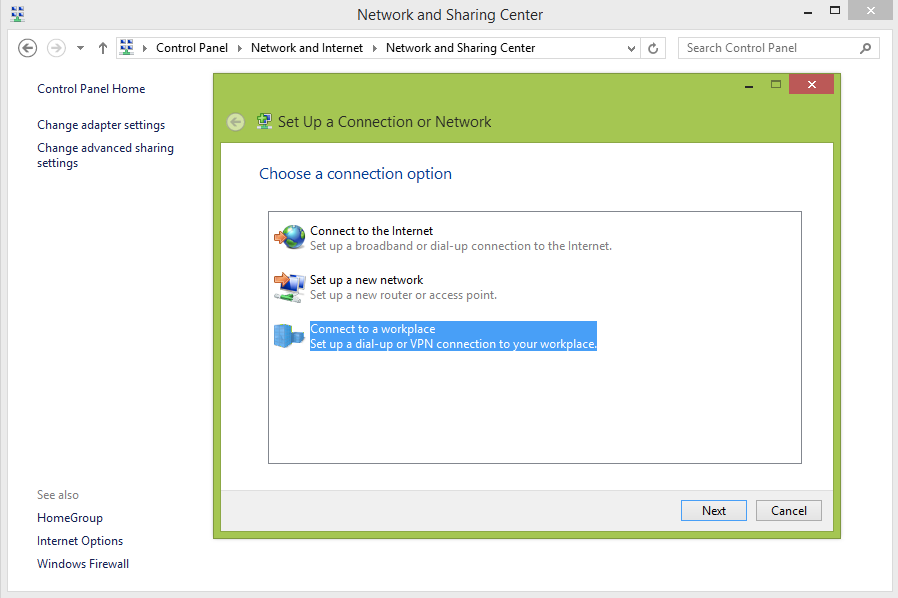
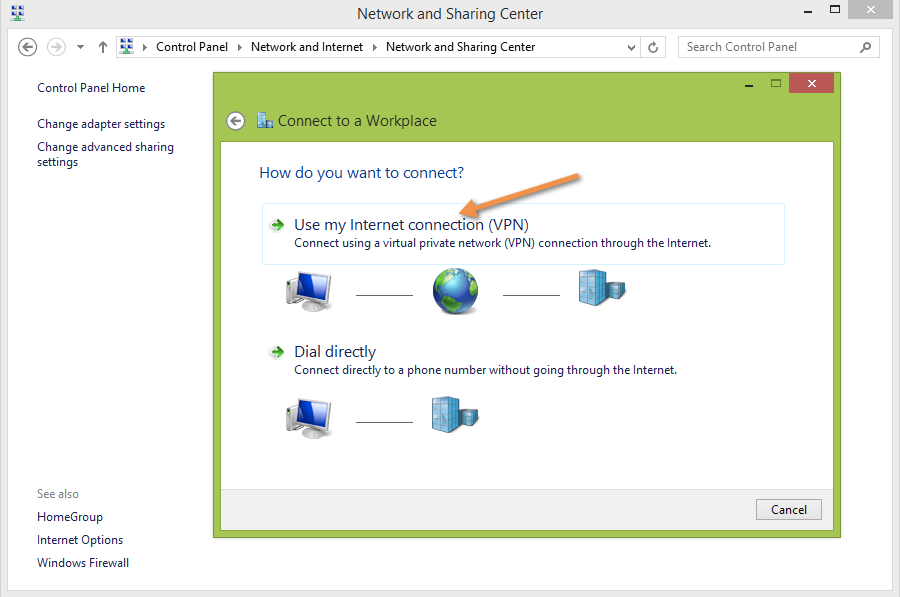
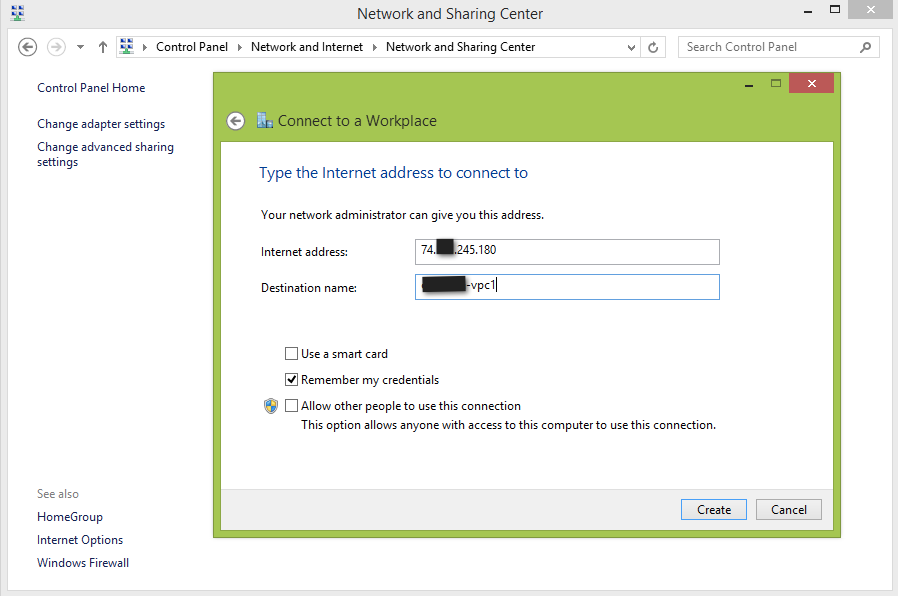
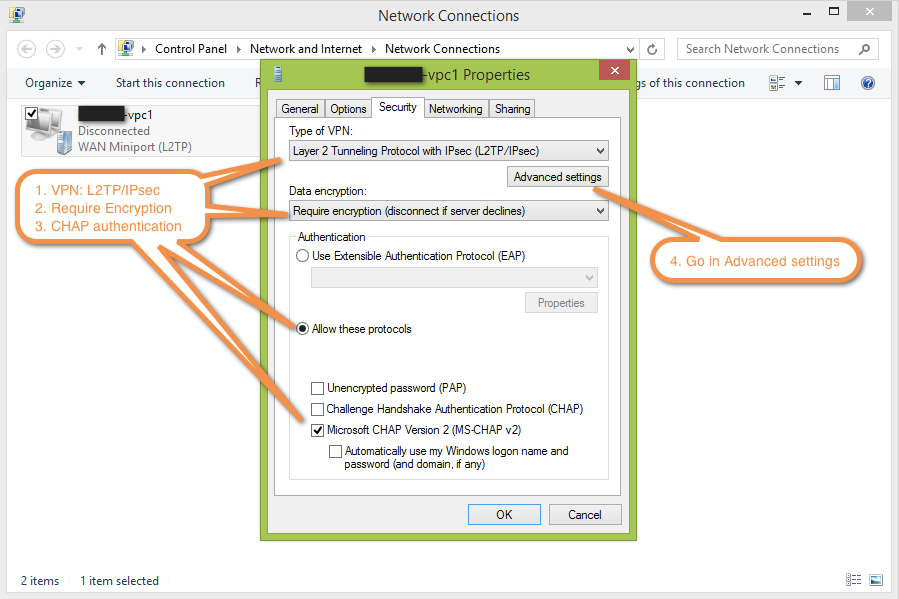
2. Configure the VPN
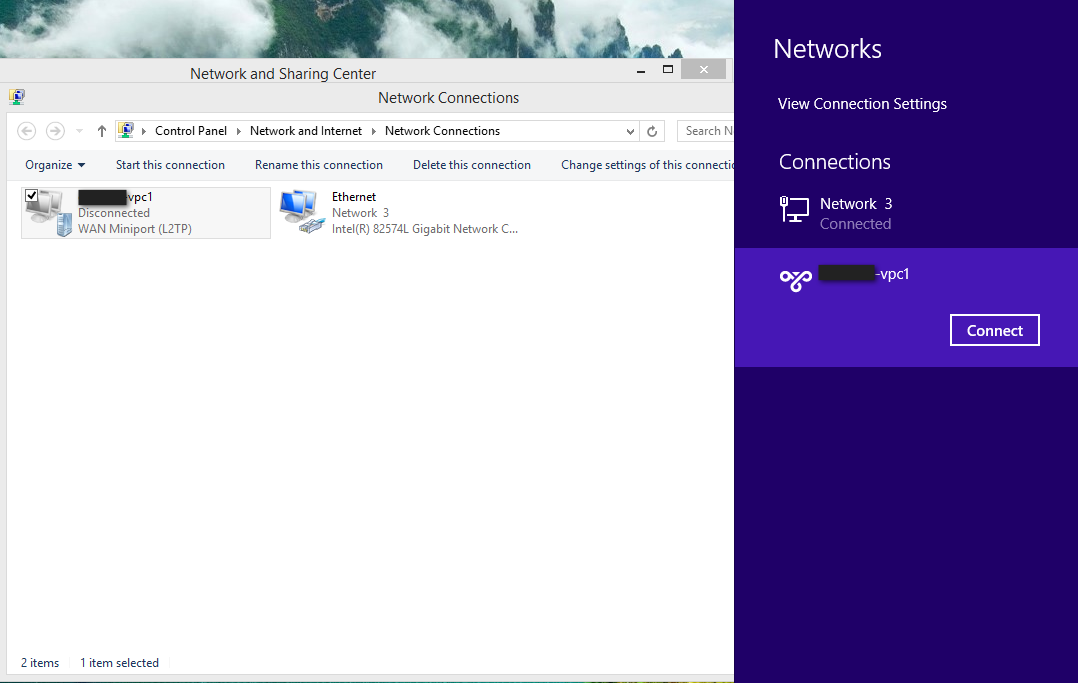
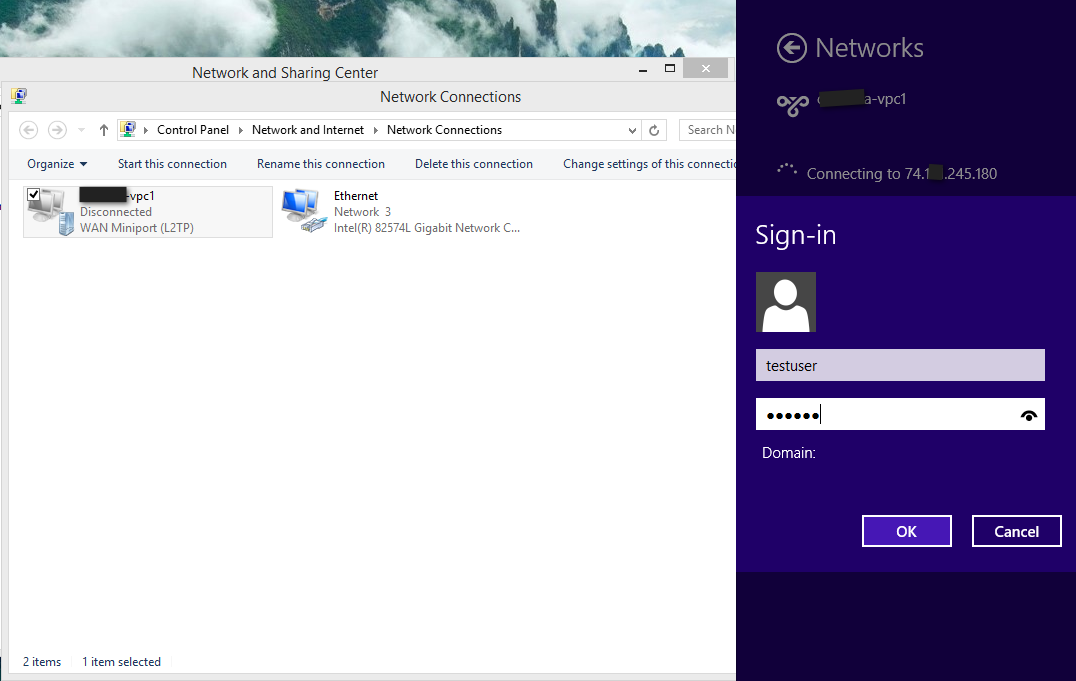
3. Initiate the VPN connection
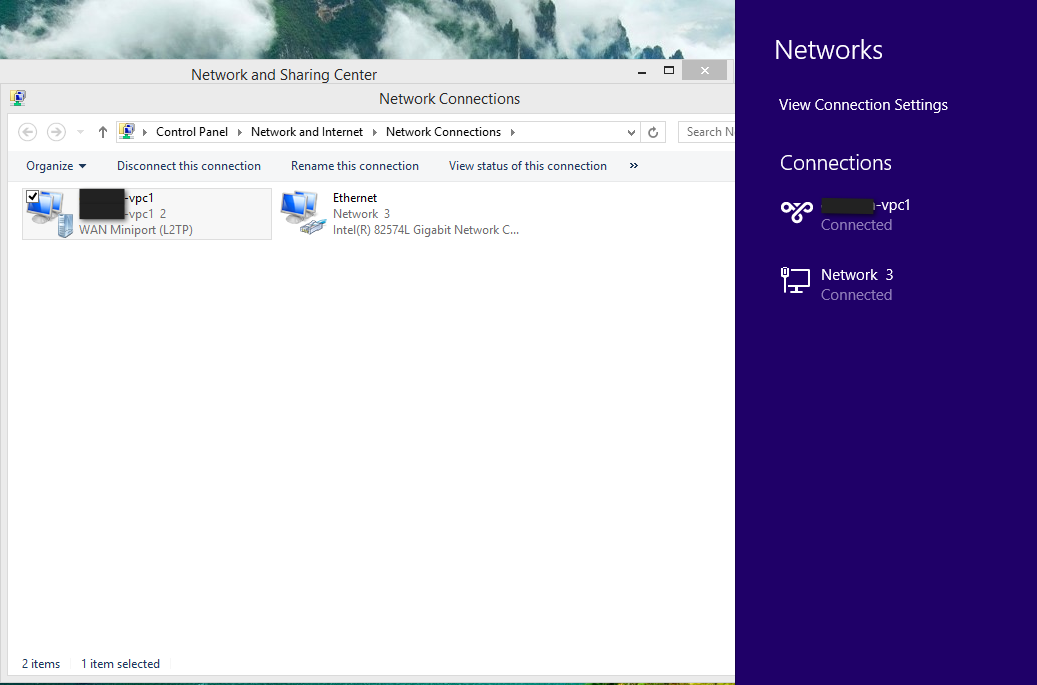
Once the above procedure is followed, the clients should be able to connect to the remote networks i.e., running on the cloud.
Common Issues:
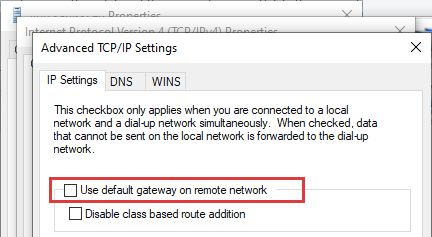
Loss of Internet Connectivity:
You may start to experience the loss of Internet connectivity after connecting to the VPN. This is because the default gateway of your machine will be set to the VPN's IP Address. Since, the SNAT is not enabled at the Remote Access VPN Gateway, the access to the Internet will be lost. The below procedure can be used on Windows 8, Windows Server 2016 and above. This has to be executed in PowerShell.
- Disable the "Default Gateway" feature in the created VPN Settings.
2. Enable "split-tunneling"
PS > Set-VPNConnection -Name "VPN01" -SplitTunneling $True
Assuming the VPN connection is created, and the name of the VPN is "VPN01", we'll execute the below.
PS > Add-VpnConnectionRoute -ConnectionName "VPN01" -DestinationPrefix "192.168.215.0/24" -RouteMetric 1
Whereas "192.168.215.0/24" is your Virtual Network running on SpeedCloud. Please replace this if the Virtual Network Address is different.
3. On reconnecting to the VPN, we should see no disruption to the Internet and VM connectivity.